

Key Takeaways
- Primer always goes on before foundation — it creates the surface foundation needs to grip.
- Concealer typically goes on after foundation, not before, so you only cover what's left.
- Skipping primer doesn't ruin a look, but it usually shortens how long makeup stays in place.
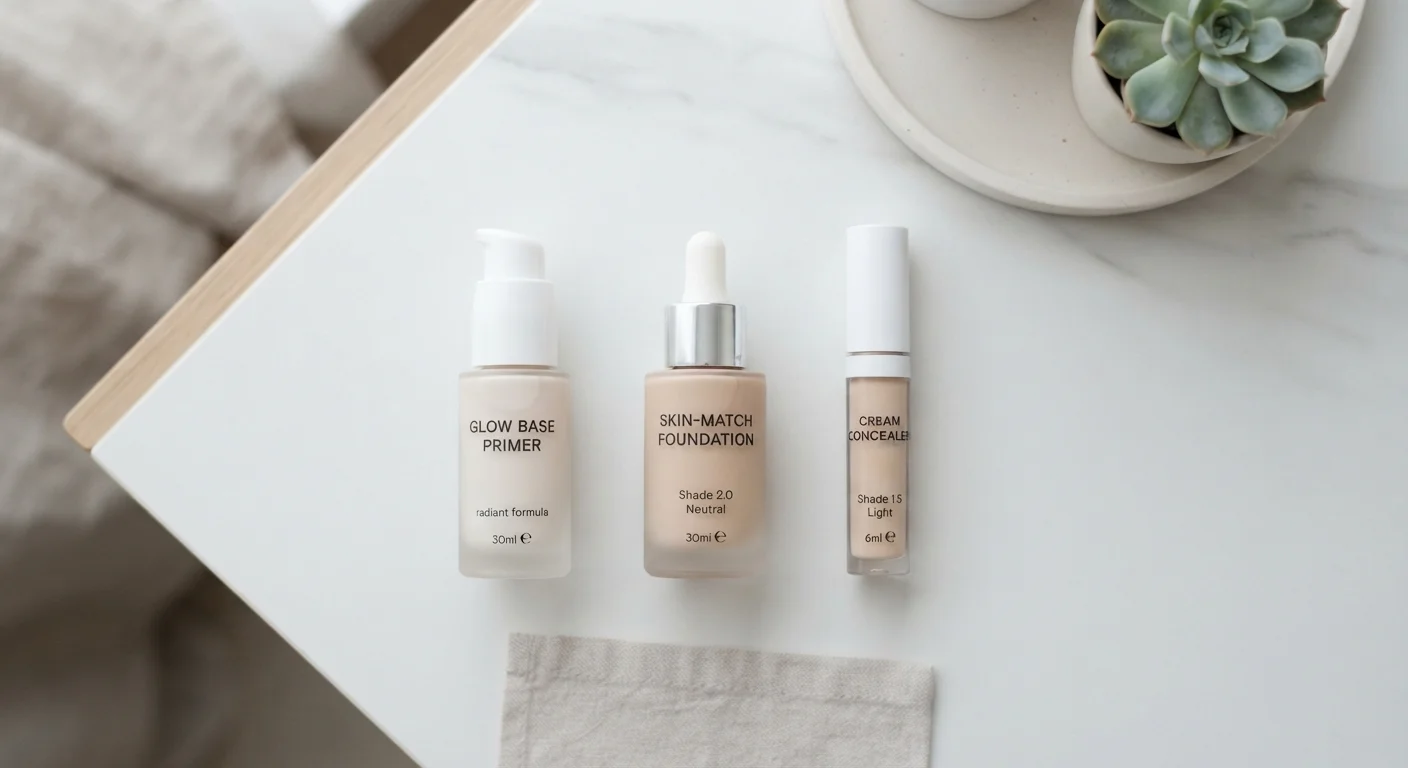
- Each product in this trio has a specific job; layering them correctly lets each one do it.
What you will need
Why Sequence Actually Matters Here
If you've ever had foundation slide off by midday or noticed concealer creasing almost immediately, there's a good chance the order of application — not the products themselves — was the culprit. Makeup products are formulated to interact with specific surfaces. Put them on in the wrong order and you're essentially asking each one to work against the layer beneath it.
Think of it like painting a wall. Primer creates the smooth, adhesive base that lets the topcoat bond properly. Skip it, and the top layer absorbs unevenly or peels faster. The same logic applies to your face. As we cover in our guide to skincare layering, sequence changes everything — and that principle extends right into your makeup routine.
What you will need
Step-by-Step: The Right Order and the Reason Behind It
Follow these steps after your skincare routine is fully absorbed and any SPF has had a moment to settle. If you're just building your first routine, our first skincare routine guide is a solid place to start before adding makeup into the mix.
Apply Primer to a Clean, Moisturized Face
Dispense a pea-sized amount of primer onto your fingertips or a brush and apply it to the areas where your makeup tends to fade fastest — typically the center of the face, around the nose, and on the forehead. You don't need to cover every inch; focus on where coverage matters most.
Primer's job is twofold: it smooths the skin's texture (minimizing the appearance of pores and fine lines) and creates a surface that foundation can adhere to. Without it, foundation sits directly on skin oils and moisturizer, which speeds up fading and uneven wear.
Wait 30–60 Seconds for Primer to Set
This step is short but important. Primer needs a brief moment to become slightly tacky so foundation bonds to it rather than sliding over it. Use this time to shake or stir your foundation, set out your tools, or simply pause. Rushing past this step is one of the most common reasons primers seem to make no difference.
Apply Foundation Over the Primer
Using a damp makeup sponge, foundation brush, or fingertips, apply your foundation starting from the center of your face and blending outward toward the hairline and jaw. Start with a small amount — you can always build coverage, but sheering out a heavy application takes more effort.
Because the primer has created a uniform base, you should notice the foundation spreading more smoothly and evenly than it would on bare skin. This is the payoff for the prep work.
Apply Concealer Only After Foundation Is Blended
Now that foundation is in place, assess what coverage you still need. Dark circles, blemishes, or any areas that need extra coverage become visible targets. Apply a small dot of concealer directly to those spots and blend the edges gently — either with a fingertip (warmth helps blend), a small brush, or the corner of a damp sponge.
Because foundation has already done the heavy lifting, you'll likely need far less concealer than you'd expect. This is the efficiency of the correct sequence: each product builds on the last rather than competing with it.
When to Skip Primer Entirely
Primer is genuinely helpful for long-wear situations — a full workday, an event, or humid weather — but it's not mandatory for every low-key day. If you're wearing a light, natural look for a few hours, foundation alone on well-moisturized skin is often sufficient. Knowing when a step adds real value versus when it's optional is part of building an efficient routine.
Common Mistakes and How to Avoid Them
The most frequent beginner error is applying concealer first — often because blemishes or dark circles feel like the most urgent thing to address. But concealer applied to bare skin gets partially wiped away when you blend foundation over it, meaning you use more product and get less coverage. Doing it in the correct sequence actually conserves both products.
Another common issue is using too much primer. A thin, even layer is all you need. Over-application can make foundation look patchy or cause it to pill (form little balls on the skin's surface) — the opposite of a smooth finish.
Finally, rushing between layers is worth mentioning. Primer needs 30–60 seconds to become slightly tacky before foundation goes on. If you move too quickly, you're essentially blending the two products together rather than layering them. Patience here pays off visibly.
Spot-Test New Products Before Wearing Them Out
Primers, foundations, and concealers all contain different ingredient profiles, and layering multiple new products at once makes it harder to identify what caused a reaction if your skin responds negatively. Introduce one new product at a time and do a small patch test on your jaw or inner wrist before wearing it on your full face. If irritation, redness, or breakouts occur, discontinue use and consult a dermatologist.
For a complete look at how to use these three products within a simple everyday routine, see our minimal makeup look walkthrough — it puts this sequence in full context.