

Key Takeaways
- A minimal makeup look can be completed in five to seven intentional steps.
- Skincare prep is the most important part of any makeup routine — skip it and everything else suffers.
- Fewer products applied well always outperform many products applied carelessly.
- A minimal routine builds skill and confidence before you add complexity.
- Understanding product order prevents common beginner mistakes and wasted product.
What you will need
Why Minimal Makeup Is the Best Place to Start
If you've ever stood in a beauty aisle feeling completely overwhelmed — seventeen foundations, each promising something different — you're in excellent company. The beauty industry profits from complexity, but your confidence doesn't require it. A minimal makeup look strips everything back to what actually matters: skin that looks like your skin, just a little more awake.
The approach here is deliberately short. Six steps, a handful of products, and a routine you can complete before your coffee gets cold. If you're curious about what products are worth having before you start, our Makeup Starter Kit guide walks through the essentials without the noise.
One thing worth knowing upfront: the order in which you apply products matters more than most beginners expect. If you've ever wondered why your concealer looks patchy or your base disappears by noon, product sequence is usually the culprit. Our guide on getting the sequence right explains the logic clearly.
What you will need
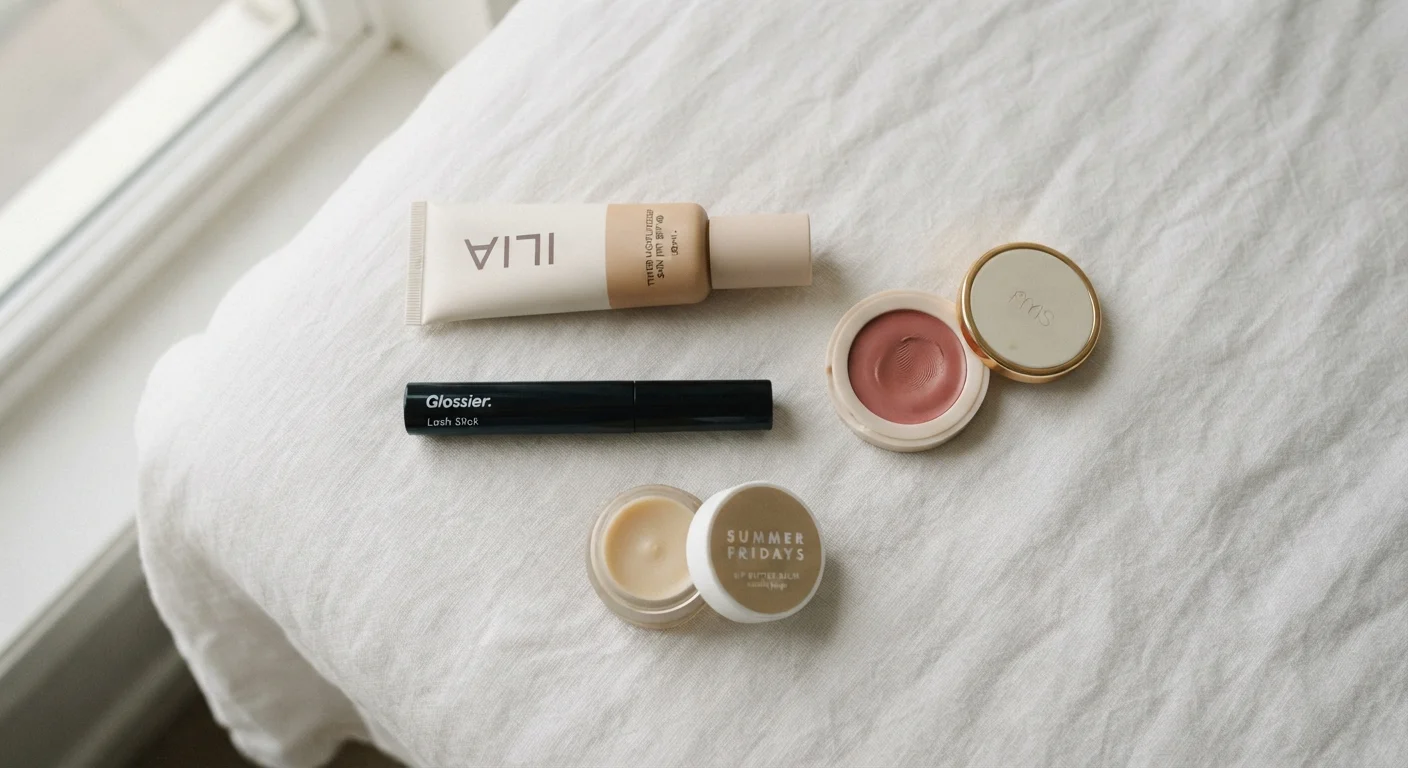
What You'll Need
The goal here is intentionality, not minimalism for its own sake. Each product in this routine earns its place by doing something visible and specific. You don't need all six categories perfectly matched on day one — start with what you have and build from there.
Tinted Moisturizer or Light-Coverage Foundation
Evens out skin tone while keeping the look natural and skin-forward rather than full-coverage.
Concealer
Spot-corrects areas that need a bit more coverage, like under eyes or blemishes.
Cream or Powder Blush
Adds a healthy flush of color to the cheeks, bringing warmth and dimension to a minimal look.
Mascara
Opens up the eyes and adds definition with minimal effort — the single most impactful minimal-look product.
Tinted Lip Balm or Lip Gloss
Finishes the look with a hint of color while keeping lips hydrated throughout the day.
Damp Makeup Sponge or Clean Fingers
Blends base products seamlessly into skin for a natural, no-harsh-edge finish.
The Steps: Your Minimal Routine
Follow these steps in order. The sequence is deliberate — skipping ahead or reversing steps is one of the most common causes of a look that doesn't sit right. If you're new to the logic of layering, that's completely normal; it becomes second nature quickly.
Prep Your Skin First
Apply your regular moisturizer and let it absorb for about two minutes. Well-hydrated skin helps every product sit better and last longer. If you use SPF — and you should — apply it now and wait another minute before moving on.
Apply Your Base Product
Dispense a small amount of tinted moisturizer (about a pea-sized drop) onto the back of your hand, then dab it across your forehead, both cheeks, the tip of your nose, and your chin. Use a damp sponge or your fingertips to blend outward in gentle pressing motions — not strokes — until the product disappears into skin.
Conceal Only Where You Need It
If your base did the job, skip this step entirely. If there are specific spots — under-eye shadows, a blemish, some redness — tap a small amount of concealer directly on the area using your ring finger (it applies the lightest pressure) and blend the edges gently so there's no visible line.
Add a Touch of Blush
Smile gently and apply blush to the apples of your cheeks, sweeping lightly upward toward your temples. For a minimal look, less is genuinely more — one or two light sweeps of a powder blush, or a small dab of cream blush blended with a finger, is enough to read as a healthy glow rather than full makeup.
Apply Mascara
Starting at the base of your upper lashes, wiggle the mascara wand gently back and forth as you pull upward toward the tips. One coat is usually enough for a minimal look. Let it dry for 30 seconds, then apply a second coat only if you want more definition.
Finish With a Tinted Lip Product
Apply your tinted balm or gloss directly from the tube with one or two swipes across your lips. For a minimal look, you don't need a perfectly sharp line — just press your lips together gently to distribute the product and you're done.
Consistency Builds Skill Faster Than Complexity
Doing this six-step routine every day for two weeks will teach you more about your skin, your preferences, and product application than experimenting with ten new products at once. Mastery of the basics is what makes advanced techniques feel intuitive later — not the other way around.
Troubleshooting and Building From Here
A few things that trip up beginners:
- Base looks patchy: Your skin likely needed more moisture before application, or you applied too much product at once. Go back to Step 1 and give your moisturizer more time to absorb.
- Blush looks too intense: Blend more, or tap a clean sponge over the area to diffuse it. Cream blushes are slightly more forgiving for beginners than powders because they blend so naturally into skin.
- Mascara smudges under the eye: Let each coat dry fully before blinking, and check that your under-eye concealer is fully set before applying.
Once this routine feels effortless — usually within a week or two of consistent practice — you'll have a much clearer sense of what you'd actually want to add. A brow product, an eyeshadow wash of color, or a more defined lip are all natural next steps. Style confidence and beauty confidence tend to reinforce each other, too; if you're working on your broader personal aesthetic at the same time, our guide to finding your aesthetic pairs well with this one.
Don't Skip the Skincare Step
Applying makeup directly onto dry or unprepped skin can emphasize texture, cause products to cling unevenly, and shorten how long the look lasts. Even a simple moisturizer applied two minutes before your base makes a measurable difference. Think of skin prep as the foundation your foundation actually sits on.
Patch-Test New Products Before Full Application
If you're using a new product for the first time, apply a small amount to the inside of your wrist or jawline and wait 24 hours before applying it to your face. Skin sensitivities vary significantly from person to person. If you experience persistent redness, itching, or irritation from any cosmetic product, discontinue use and consult a dermatologist.
This article is for general informational and educational purposes only. If you experience skin reactions to any cosmetic product, consult a qualified dermatologist or healthcare professional.