

Key Takeaways
- Checking four key fluids — engine oil, coolant, brake fluid, and washer fluid — takes under 20 minutes.
- Always check fluids with the engine cold and the car parked on level ground for accurate readings.
- Low brake fluid can signal a serious safety issue and warrants a mechanic's inspection.
- Your owner's manual specifies the correct fluid types; never substitute a different product.
- Regular fluid checks catch problems early, preventing expensive repairs down the road.
What you will need
Why Fluid Checks Matter for First-Time Owners
Your car relies on several fluids to keep its systems running safely — engine oil lubricates moving parts, coolant prevents overheating, brake fluid transmits hydraulic pressure, and washer fluid keeps your visibility clear. When any of these drops below a safe level or degrades in quality, the consequences range from reduced performance to serious mechanical damage or a safety hazard on the road.
The good news: checking these four fluids requires no special skills and just a few minutes of your time. It's one of the most straightforward ways to stay on top of your car's health. For a broader picture of what maintenance looks like across your ownership journey, see our complete maintenance roadmap.
What you will need
What You'll Need Before You Start
You don't need a garage or a full toolkit — just a few basics and your owner's manual. Every vehicle's engine bay is laid out differently, so the manual is genuinely essential for locating reservoirs and confirming which fluid specifications apply to your car. Don't guess on fluid types.
Owner's Manual
Identifies reservoir locations, dipstick markings, and the correct fluid types for your specific vehicle.
Lint-Free Rags or Paper Towels
Used to wipe the oil dipstick clean between readings for an accurate result.
Nitrile Gloves
Protects skin from engine oil, coolant, and brake fluid, all of which can cause irritation.
Flashlight or Phone Torch
Improves visibility in the engine bay, especially around darker fluid reservoirs.
Step-by-Step: Checking Your Car's Fluids
Work through the steps below in order. The whole process typically takes 10–20 minutes on a cold engine.
Park on level ground and let the engine cool
Pull onto a flat, stable surface and switch off the engine. Wait at least 30 minutes before opening the hood. Checking fluids on a slope skews readings, and a hot engine can cause burns or inaccurate oil level measurements.
Check the engine oil level
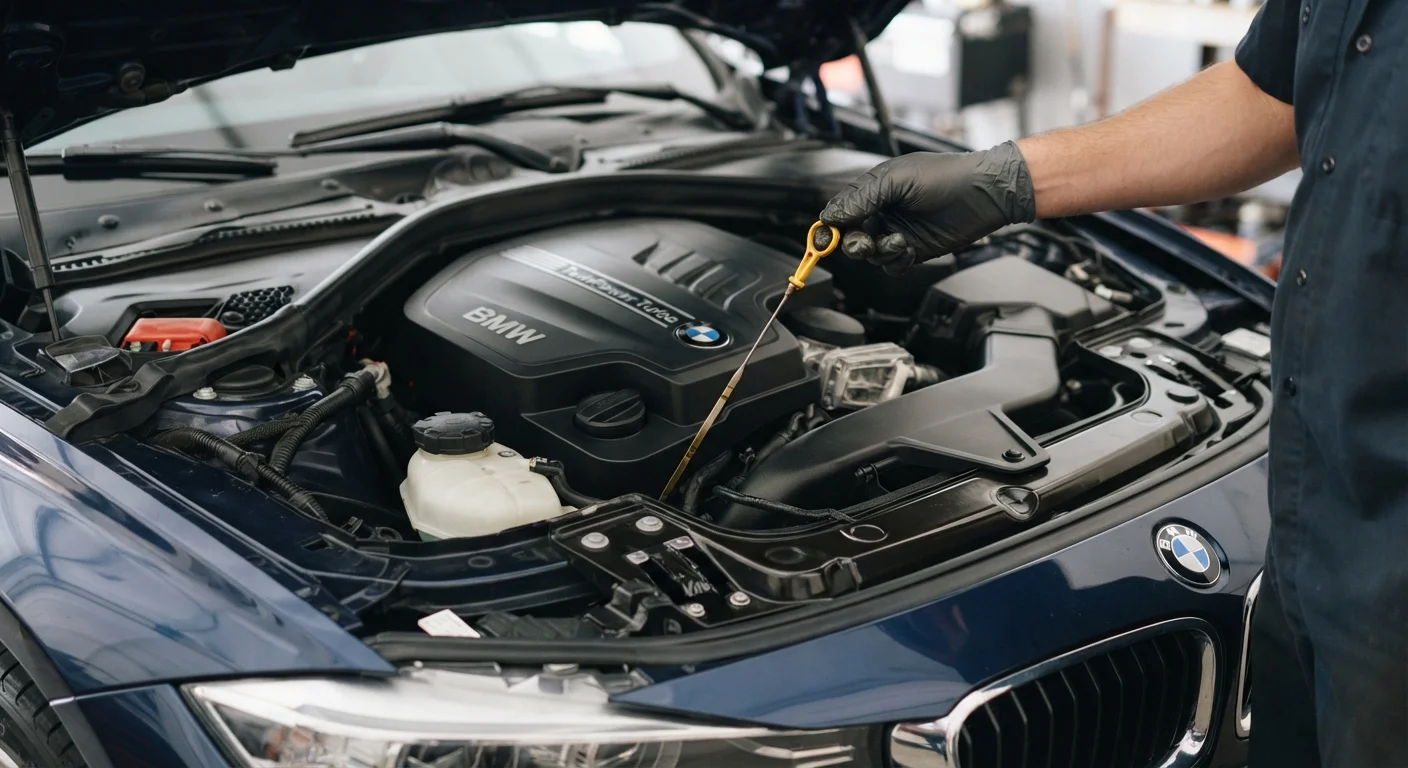
Locate the oil dipstick — usually identified by a brightly colored handle (yellow or orange). Pull it out fully, wipe it clean with a rag, reinsert it all the way, then pull it out again. The oil film should sit between the two marked notches (MIN and MAX). The oil should appear amber to light brown; black, gritty, or milky oil warrants a mechanic's attention.
For deeper context on oil grades and change intervals, see our guide on engine oil grades and change intervals.
Check the engine coolant level
Find the translucent coolant reservoir — typically a white or yellow plastic bottle connected to the radiator. You can read the level through the side of the reservoir without opening it. The fluid should sit between the MIN and MAX lines marked on the bottle. Coolant is usually green, pink, or blue depending on the type.
Check the brake fluid level
The brake fluid reservoir is a small, semi-translucent container near the back of the engine bay on the driver's side. Check the level against the MIN/MAX markings on the outside — no need to open it. The fluid should appear clear to light yellow; dark or murky fluid suggests it should be replaced by a mechanic.
Check and top up the windshield washer fluid
The washer fluid reservoir is usually marked with a windshield or water-spray icon. This is the one fluid you can top up at any time, even with a warm engine — it's water-based and not pressurized. Use washer fluid formulated for your climate; in cold weather, use a freeze-resistant formula. Plain water can freeze in the lines and crack the reservoir.
Close the hood securely and record what you found
Ensure all caps are replaced tightly and the dipstick is fully reseated. Close the hood and push down firmly until it latches. Jot down today's date and any levels that were low or looked unusual — this record helps you spot trends over time and gives a mechanic useful context if a problem develops.
Brake Fluid Drop May Signal a Leak
Unlike other fluids, brake fluid in a healthy system doesn't simply 'get used up.' A noticeably low level often means a leak somewhere in the braking system — not just normal consumption. Do not drive the vehicle until a qualified mechanic has inspected the brakes. This is a safety-critical system.
Never Open the Coolant Cap When Hot
The cooling system is pressurized. Opening the radiator cap or coolant reservoir on a warm or hot engine can cause scalding fluid to erupt suddenly. Always wait at least 30 minutes after driving before touching anything near the coolant system.
When to Call a Mechanic Instead
Fluid checks are well within what most owners can handle at home. But knowing where the line is matters. If you find oil that looks milky or gritty, brake fluid that's consistently low, or coolant that keeps needing top-ups, those are symptoms — not maintenance tasks. A workshop visit is the right next step.
Our article on DIY maintenance vs. workshop tasks helps you understand which jobs are safe to do yourself and which genuinely need a professional. And if you've heard that modern cars need less frequent oil changes, our guide on common maintenance myths separates fact from fiction.
Make It a Monthly Habit
Pair your fluid check with something you already do regularly — like refueling. Checking once a month and before any long road trip keeps you ahead of problems. Our seasonal maintenance checklist can help you build a fuller routine.